
About a year ago we converted this site to run fully on Jekyll and migrated our blog from Tumblr. When we did that we gained some freedom and the ability to edit our content on GitHub. We’ve received quite a few pull requests from readers to fix typos and optimize images. As our blog got more complicated, we started making mistakes that were hard to catch before publishing. So we came up with a way to catch many of those errors, before they end up in your browser.
 Basic content problems are a pain. This is why we run automated tests on 18f.gsa.gov.
One advantage of hosting our site’s code on GitHub is we can integrate with continuous integration (CI) services to check our work before we publish. Many open source projects use a CI to run various tests on their code. We use it to run tests on our content. We use Travis CI but there are many others out there. Until recently, the only test we ran was building the site to know if it was successful.
Just building the site caught a few high-level errors but not all. We added the html-proofer to our test suite, which checks internal links and validates the HTML on every generated page. This helps us catch more errors but is still kind of like a chainsaw: It tears through the material but misses detail-level problems. If a post was missing the authors field in the frontmatter, for example, all the tests would pass but the generated page would be missing a byline. This is the kind of error we wouldn’t catch until we merged the content into the site and previewed it on our staging server.
Manually inspecting things is the worst, especially when you can make a computer to do it for you. This is why we wrote the jekyll_frontmatter_tests gem. It’s pretty simple and helps us catch problems like this before we publish. It works by comparing our posts to a “schema” that describes which fields should exist in the frontmatter and how their values should be formatted. Let’s walk through installation and setup for testing a Jekyll site’s posts.
For these instructions, we recommend typing in each of the commands, not copy-pasting.
Installation
Install it by adding jekyll_frontmatter_tests to your _config.yml in the jekyll-plugins section and then gem install jekyll_frontmatter_tests. Once installed, you should have an extra command called test when you run jekyll --help. Here’s what 18f.gsa.gov’s _config.yml, and Gemfile look like.
Configuration
Next, create a “schema” file in a directory called deploy/tests/schema. If you don’t have that directory, you can make it by running mkdir -p deploy/tests/schema from the root of your Jekyll directory. Then create a file called _posts.yml. You can do this by running touch deploy/tests/schema/_posts.yml.
Open deploy/tests/schema/_posts.yml in your favorite editor.
Let’s assume you expect all your posts to look like this:
---
title: “My fancy blog post”
authors:
- boone
tags:
- ruby
- gems
- jekyll
In that example, each post is required to have a title that is a string, an array of authors, and an array of tags. Each one of those needs a line in the _posts.yml file, with the expected “type” on the right.
---
title: “String”
tags: “Array”
authors: “Array”
Once that’s in place, we need to add a config section at the bottom of the schema file. This will give the plugin a little information it wouldn’t otherwise know. There are two required sections in this part right now: path and ignore. The first tells the test where to find the posts, the second tells it to ignore specific files that might also be in that directory. In 18f.gsa.gov, for example, we have a README in our _posts directory so we add README.md to this section. If you’re using a Mac, yours might look like this:
---
config:
path: _posts
ignore:
- README.md
- ..
- .
- .DS_Store
Altogether, your schema file looks like this:
---
title: “String”
tags: “Array”
authors: “Array”
config:
path: _posts
ignore:
- README.md
- ..
- .
- .DS_Store
Running the tests
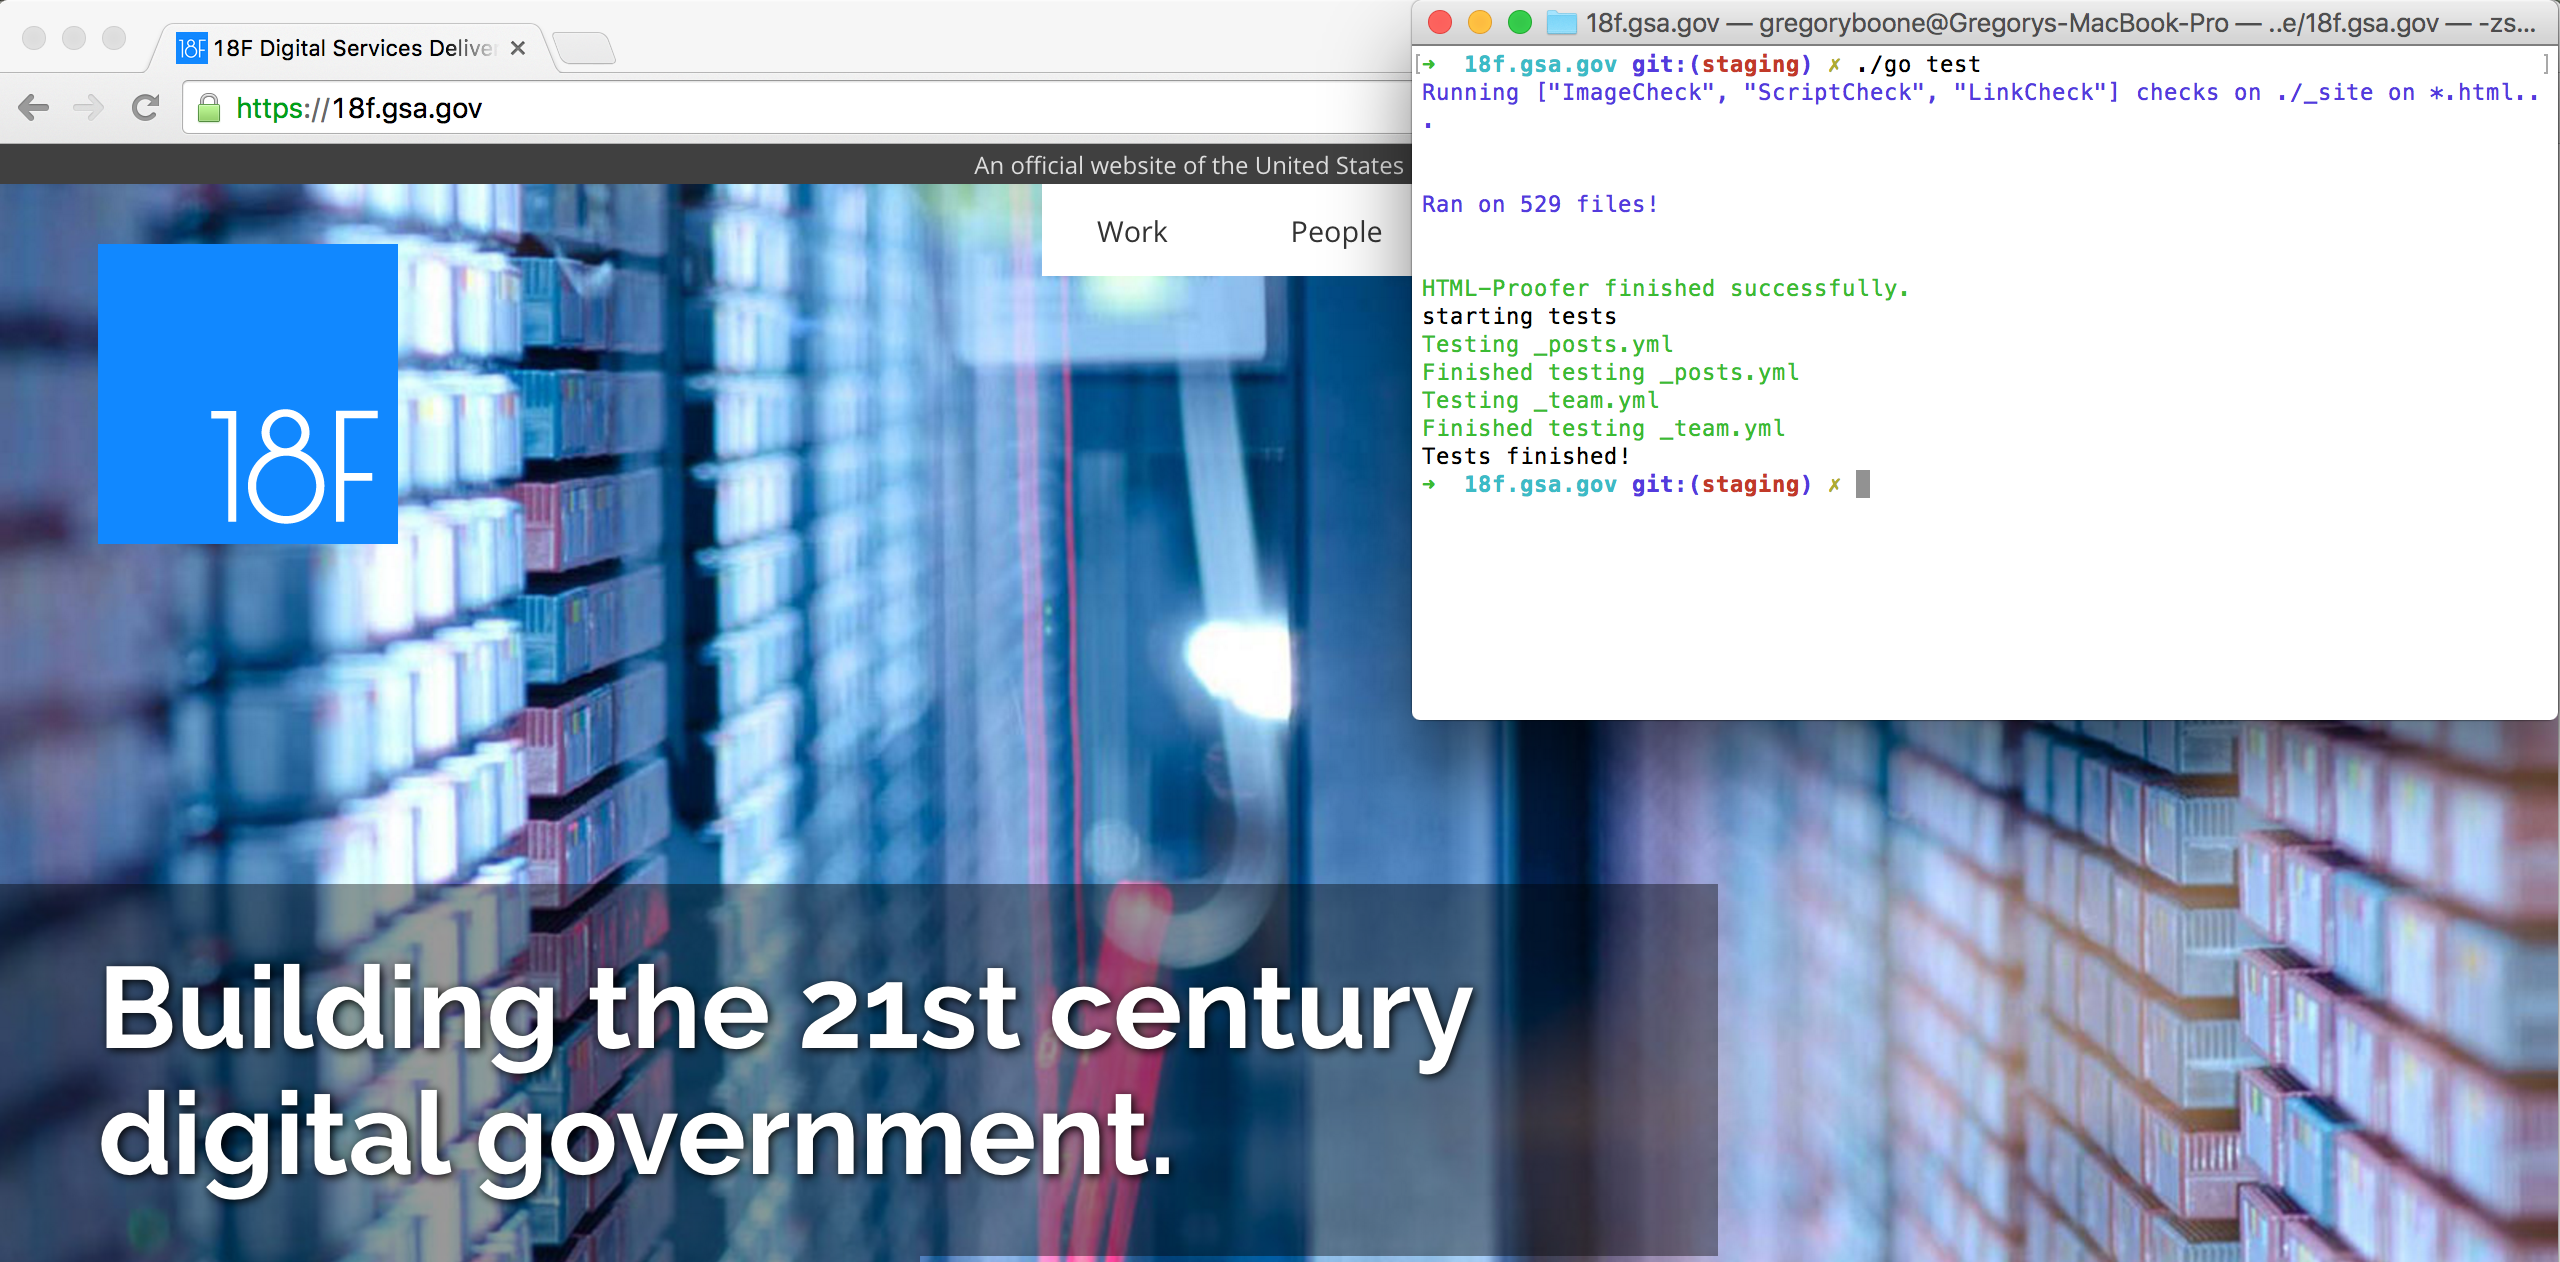
Now that you have your schema file in place, run jekyll test. The command will check each post to make sure it has a title that is a string, an array of tags, and an array of authors. If the test passes, you’ll see the following:
Starting tests
Testing posts
Finished testing posts
Tests finished!
If it fails, you’ll see something like this:
starting tests
testing posts
The file 2015-09-01-my-fancy-blog-post.md is missing the following keys:
* authors
Finished testing
The test exited with errors: see above.
Integrating with Travis
We use Travis to test 18f.gsa.gov, but these tests will probably run on any continuous integration service. All you need to do is add bundle exec jekyll test to your Travis configuration. On this site we have a “go script” that runs a couple other things (including a site build) in addition to testing all our blog posts and team member profiles.
That’s it! It was built for Jekyll 3.0 from the start but should work with earlier version. It’ll work for complex sites like ours down to the simplest of blogs. Just make a schema file for each collection and ![]() you’re testing.
you’re testing.
Update: As a cruel bit of irony we made a couple mistakes with the open graph image in this post. We’re already thinking about ways to write tests to prevent this!